Create an OpenStack environment in the deployment wizard
Create an OpenStack environment in the deployment wizard
Before you deploy an OpenStack environment, you must decide and prepare hardware for the network topology, types of storage, hypervisor, OpenStack release version, additional OpenStack services, and other components that you want to deploy. Additional OpenStack programs and Fuel plugins may have additional hardware requirements and architectural limitations. For more information, see: System requirements in the Fuel Installation Guide.
To create an OpenStack environment:
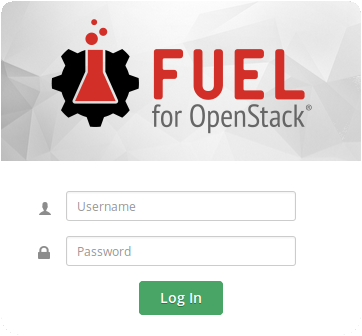
Access the Fuel web UI by pointing your web browser to http://10.20.0.2:8443.
The Fuel login screen appears:
Log in to the Fuel web UI as admin:
- If you did not change the default password for admin, use the default password admin.
- If you changed the default password for admin, use that password.
Warning
For your security, change the default password. See: Change the Fuel Master node administrative password.
If you are logging in to the Fuel Web UI for the first time, select whether you want to send usage statistics or not by clicking Connect now or Connect later.
Click New OpenStack Environment.
The deployment wizard starts.
In the Name and Release screen, type a name of the OpenStack environment and select an OpenStack release and an operating system on which you want to deploy your OpenStack environment.
In the Compute screen, select a hypervisor.
By default, Fuel uses QEMU with KVM acceleration.
In the Networking Setup screen, select a network topology.
By default, Fuel deploys Neutron with VLAN segmentation.
In the Storage Backends, select options for the storage back ends.
By default, Fuel deploys Logical Volume Management (LVM) for Cinder, local disk for Swift, and Swift for Glance.
In the Additional Services, select additional OpenStack programs that you want to deploy.
In the Finish screen, click Create.
Fuel creates an OpenStack environment. Before you can use the environment you must add nodes, verify network settings, and complete other configuration tasks.
Proceed to Configure your Environment.