Create a backup
Create a backup
Data managed by DTR
Docker Trusted Registry maintains data about:
| Data | Description |
|---|---|
| Con figurations | The DTR cluster configurations |
| Repository metadata | The metadata about the repositories and images deployed |
| Access control to repos and images | Permissions for teams and repositories |
| Notary data | Notary tags and signatures |
| Scan results | Security scanning results for images |
| C ertificates and keys | The certificates, public keys, and private keys that are used for mutual TLS communication |
| Images content | The images you push to DTR. This can be stored on the file system of the node running DTR, or other storage system, depending on the configuration |
This data is persisted on the host running DTR, using named volumes. Learn more about DTR named volumes.
To perform a backup of a DTR node, run the docker/dtr backup <dtr-cli-backup> command. This command backs up the following data:
| Data | Backed up | Description |
|---|---|---|
| Configurations | yes | DTR settings |
| Repository metadata | yes | Metadata such as image architecture and size |
| Access control to repos and images | yes | Data about who has access to which images |
| Notary data | yes | Signatures and digests for images that are signed |
| Scan results | yes | Information about vulnerabilities in your images |
| Certificates and keys | yes | TLS certificates and keys used by DTR |
| Image content | no | Needs to be backed up separately, depends on DTR configuration |
| Users, orgs, teams | no | Create a UCP backup to back up this data |
| Vulnerability database | no | Can be redownloaded after a restore |
Back up DTR data
To create a backup of DTR, you need to:
- Back up image content
- Back up DTR metadata
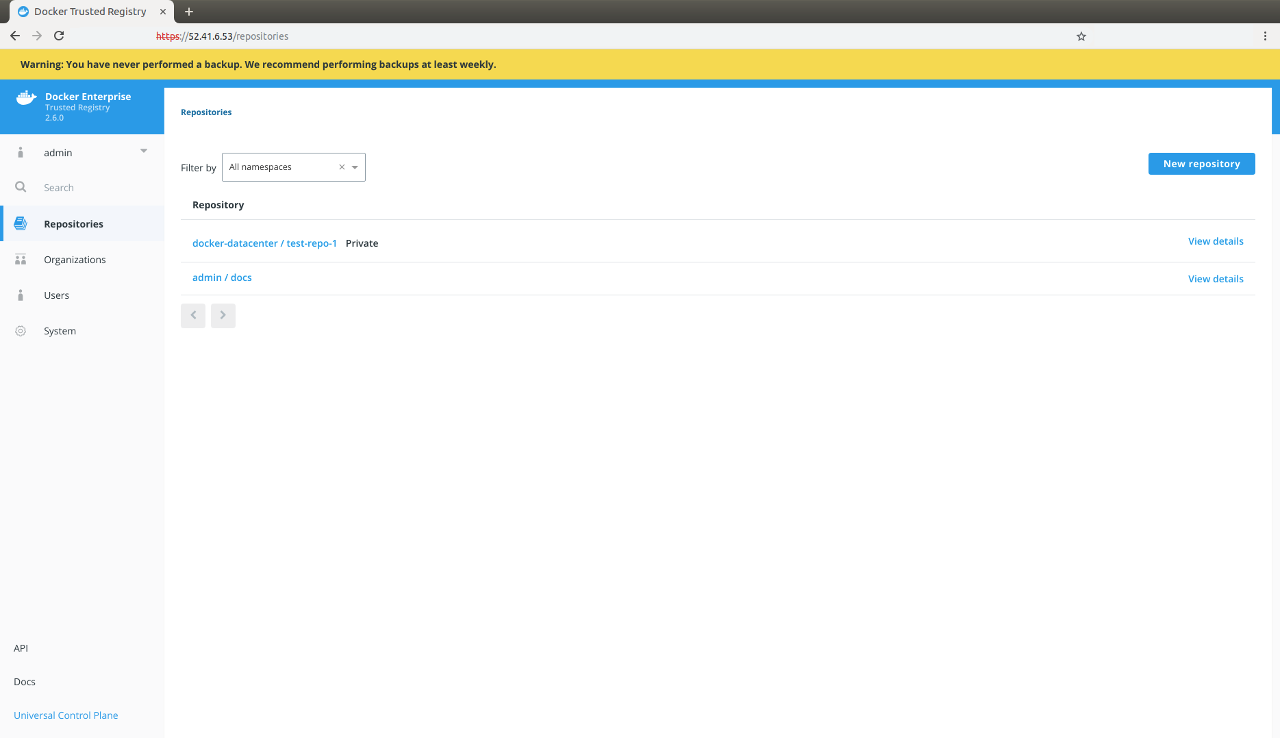
You should always create backups from the same DTR replica, to ensure a smoother restore. If you have not previously performed a backup, the web interface displays a warning for you to do so:
Find your replica ID
Since you need your DTR replica ID during a backup, the following covers a few ways for you to determine your replica ID:
UCP web interface
You can find the list of replicas by navigating to Shared Resources > Stacks or Swarm > Volumes (when using swarm mode) on the UCP web interface.
UCP client bundle
From a terminal using a UCP client bundle, run:
docker ps --format "{{.Names}}" | grep dtr

# The list of DTR containers with <node>/<component>-<replicaID>, e.g.
# node-1/dtr-api-a1640e1c15b6
SSH access
Another way to determine the replica ID is to log into a DTR node using SSH and run the following:
REPLICA_ID=$(docker ps --format '{{.Names}}' -f name=dtr-rethink | cut -f 3 -d '-')
&& echo $REPLICA_ID
Back up image content
Since you can configure the storage backend that DTR uses to store images, the way you back up images depends on the storage backend you’re using.
If you’ve configured DTR to store images on the local file system or NFS
mount, you can back up the images by using SSH to log into a DTR node,
and creating a tar archive of the dtr-registry
volume.
Example backup command
Local images
sudo tar -cf dtr-image-backup-$(date +%Y%m%d-%H_%M_%S).tar \
/var/lib/docker/volumes/dtr-registry-$(docker ps --format '{{.Names}}' -f name=dtr-rethink | cut -f 3 -d '-')
Expected output
tar: Removing leading `/' from member names
If you’re using a different storage backend, follow the best practices recommended for that system.
Back up DTR metadata
To create a DTR backup, load your UCP client bundle, and run the following command.
Chained commands (Linux only)
DTR_VERSION=$(docker container inspect $(docker container ps -f name=dtr-registry -q) | \
  grep -m1 -Po '(?<=DTR_VERSION=)\d.\d.\d'); \
REPLICA_ID=$(docker ps --format '{{.Names}}' -f name=dtr-rethink | cut -f 3 -d '-'); \
read -p 'ucp-url (The UCP URL including domain and port): ' UCP_URL; \
read -p 'ucp-username (The UCP administrator username): ' UCP_ADMIN; \
read -sp 'ucp password: ' UCP_PASSWORD; \
docker run --log-driver none -i --rm \
  --env UCP_PASSWORD=$UCP_PASSWORD \
  docker/dtr:$DTR_VERSION backup \
  --ucp-username $UCP_ADMIN \
  --ucp-url $UCP_URL \
  --ucp-ca "$(curl https://${UCP_URL}/ca)" \
  --existing-replica-id $REPLICA_ID > dtr-metadata-${DTR_VERSION}-backup-$(date +%Y%m%d-%H_%M_%S).tar
UCP field prompts
<ucp-url>is the URL you use to access UCP.<ucp-username>is the username of a UCP administrator.<replica-id>is the DTR replica ID to back up.
The above chained commands run through the following tasks: 1. Sets your
DTR version and replica ID. To back up a specific replica, set the
replica ID manually by modifying the --existing-replica-id flag in
the backup command. 2. Prompts you for your UCP URL (domain and port)
and admin username. 3. Prompts you for your UCP password without saving
it to your disk or printing it on the terminal. 4. Retrieves the CA
certificate for your specified UCP URL. To skip TLS verification,
replace the --ucp-ca flag with --ucp-insecure-tls. Docker does
not recommend this flag for production environments. 5. Includes DTR
version and timestamp to your tar backup file.
You can learn more about the supported flags in the DTR backup reference documentation.
By default, the backup command does not pause the DTR replica being
backed up to prevent interruptions of user access to DTR. Since the
replica is not stopped, changes that happen during the backup may not be
saved. Use the --offline-backup flag to stop the DTR replica during
the backup procedure. If you set this flag, remove the replica from the
load balancing pool to avoid user interruption.
Also, the backup contains sensitive information like private keys, so you can encrypt the backup by running:
gpg --symmetric {{ metadata_backup_file }}
This prompts you for a password to encrypt the backup, copies the backup file and encrypts it.
To validate that the backup was correctly performed, you can print the contents of the tar file created. The backup of the images should look like:
tar -tf {{ metadata_backup_file }}

dtr-backup-v2.7.5/
dtr-backup-v2.7.5/rethink/
dtr-backup-v2.7.5/rethink/layers/
And the backup of the DTR metadata should look like:
tar -tf {{ metadata_backup_file }}

# The archive should look like this
dtr-backup-v2.7.5/
dtr-backup-v2.7.5/rethink/
dtr-backup-v2.7.5/rethink/properties/
dtr-backup-v2.7.5/rethink/properties/0
If you’ve encrypted the metadata backup, you can use:
gpg -d {{ metadata_backup_file }} | tar -t
You can also create a backup of a UCP cluster and restore it into a new cluster. Then restore DTR on that new cluster to confirm that everything is working as expected.