Manage and deploy private images
Manage and deploy private images
Docker Enterprise has its own image registry (DTR) so that you can store and manage the images that you deploy to your cluster. In this topic, you push an image to DTR and later deploy it to your cluster, using the Kubernetes orchestrator.
Open the DTR web UI
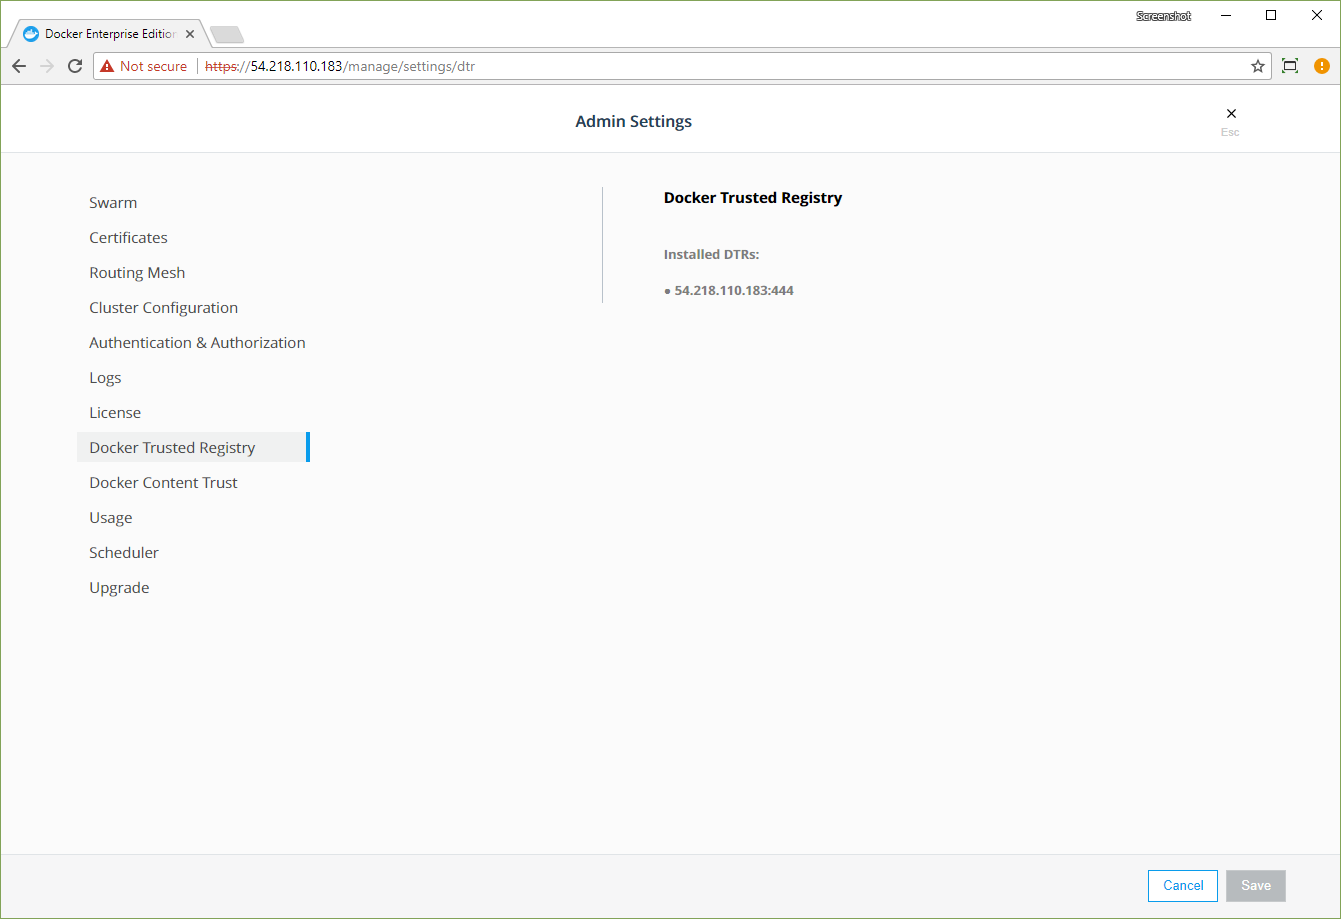
In the Docker Enterprise web UI, click Admin Settings.
In the left pane, click Docker Trusted Registry.
In the Installed DTRs section, note the URL of your cluster’s DTR instance.
In a new browser tab, enter the URL to open the DTR web UI.
Create an image repository
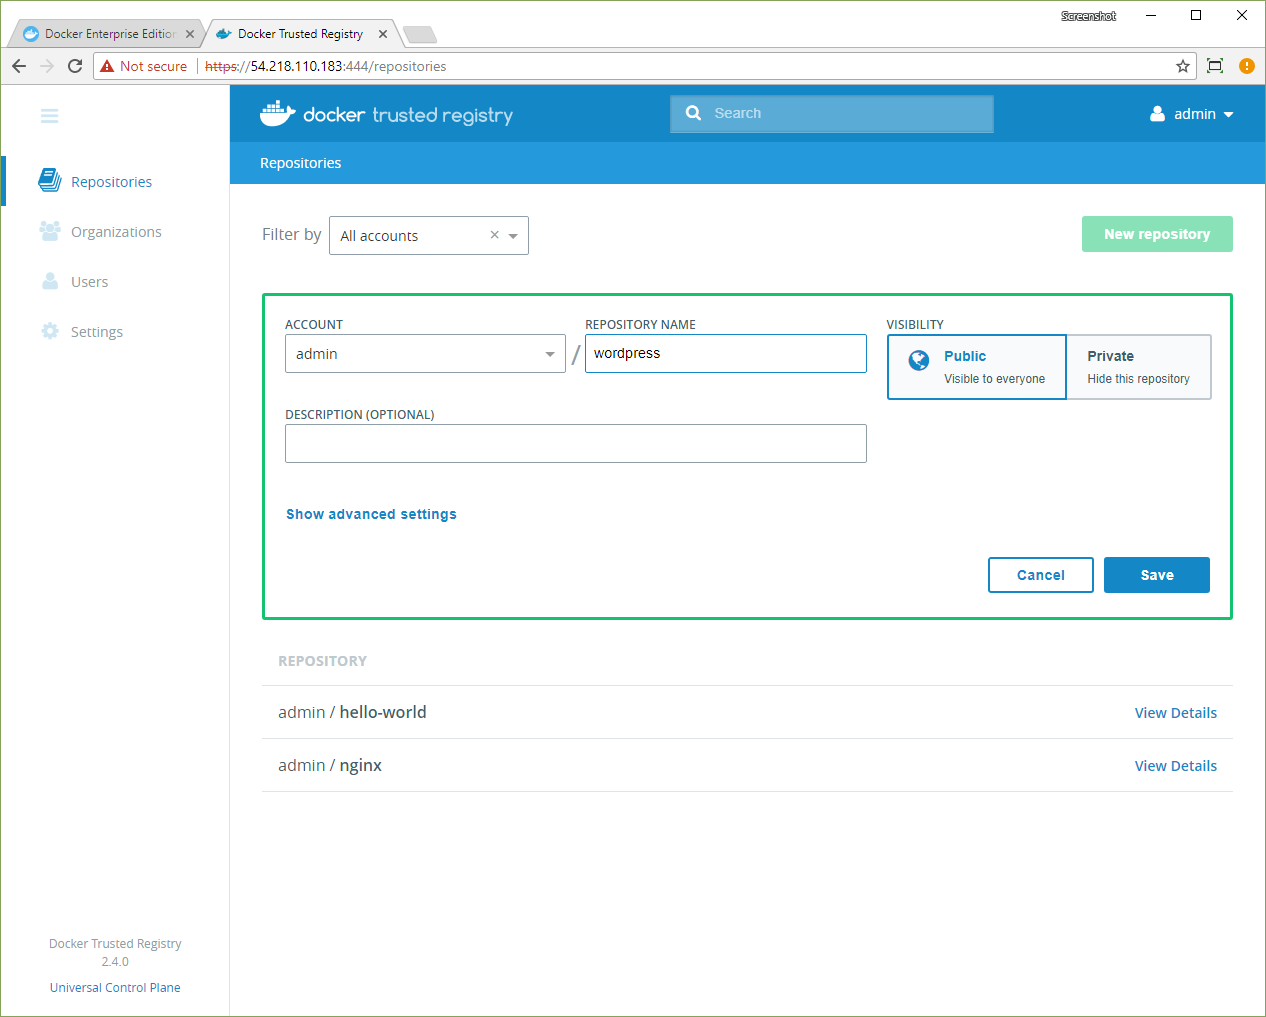
In the DTR web UI, click Repositories.
Click New Repository, and in the Repository Name field, enter “wordpress”.
Click Save to create the repository.
Push an image to DTR
Instead of building an image from scratch, we’ll pull the official WordPress image from Docker Hub, tag it, and push it to DTR. Once that WordPress version is in DTR, only authorized users can change it.
To push images to DTR, you need CLI access to a licensed installation of Docker Enterprise.
When you’re set up for CLI-based access to a licensed Docker Enterprise instance, you can push images to DTR.
Pull the public WordPress image from Docker Hub:
docker pull wordpress
Tag the image, using the IP address or DNS name of your DTR instance:
docker tag wordpress:latest <dtr-url>:<port>/admin/wordpress:latest
Log in to a Docker Enterprise manager node.
Push the tagged image to DTR:
docker image push <dtr-url>:<port>/admin/wordpress:latest
Confirm the image push
In the DTR web UI, confirm that the wordpress:latest image is store
in your DTR instance.
In the DTR web UI, click Repositories.
Click wordpress to open the repo.
Click Images to view the stored images.
Confirm that the
latesttag is present.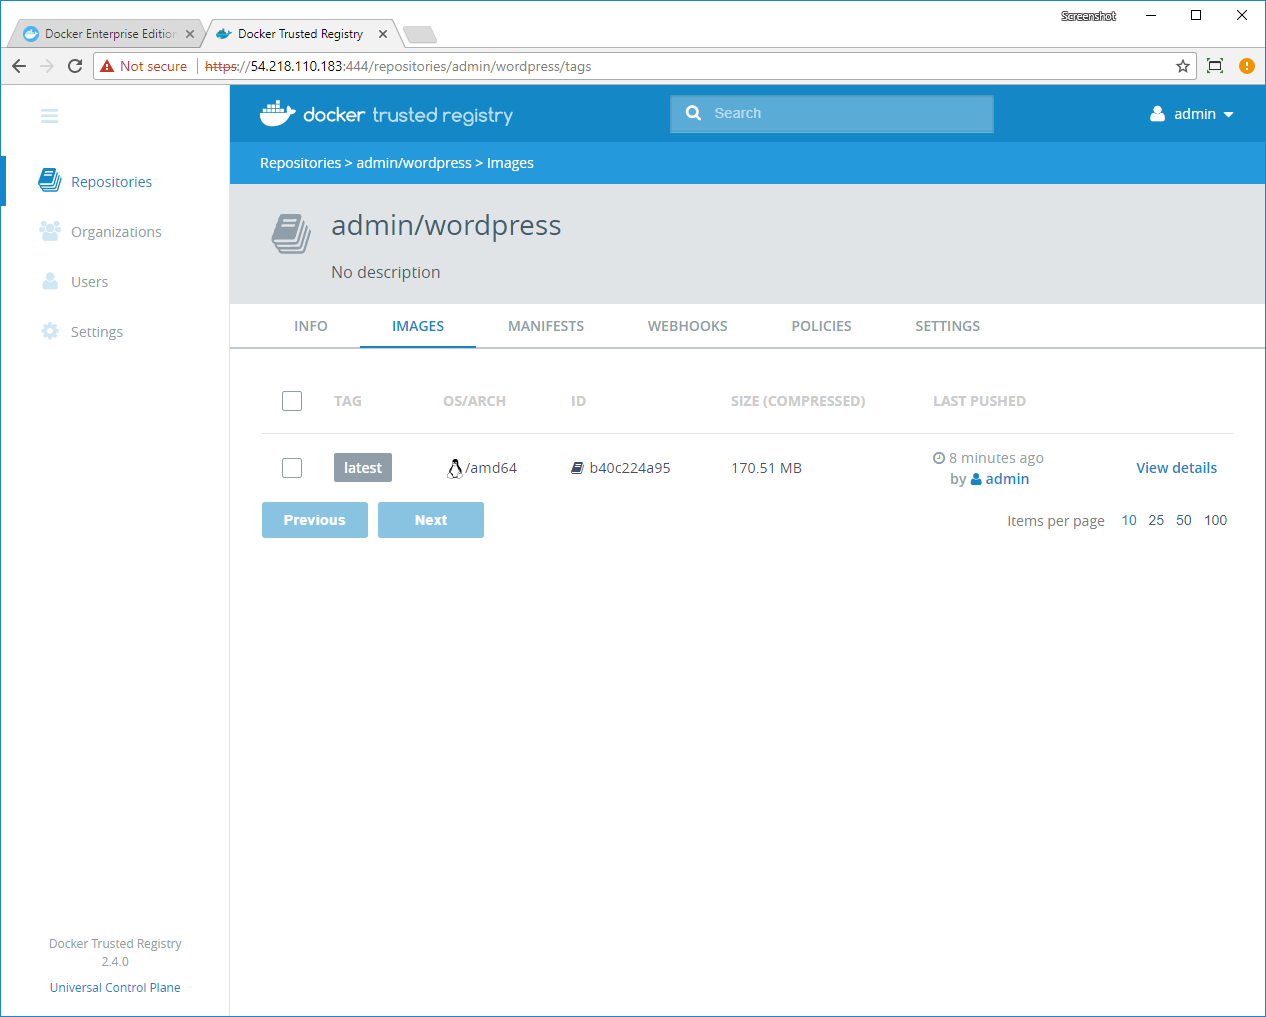
You’re ready to deploy the wordpress:latest image into production.
Deploy the private image to UCP
With the WordPress image stored in DTR, Docker Enterprise can deploy the image to a Kubernetes cluster with a simple Deployment object:
apiVersion: apps/v1beta2
kind: Deployment
metadata:
  name: wordpress-deployment
spec:
  selector:
    matchLabels:
      app: wordpress
  replicas: 2
  template:
    metadata:
      labels:
        app: wordpress
    spec:
      containers:
      - name: wordpress
        image: <dtr-url>:<port>/admin/wordpress:latest
        ports:
        - containerPort: 80
---
apiVersion: v1
kind: Service
metadata:
  name: wordpress-service
  labels:
    app: wordpress
spec:
  type: NodePort
  ports:
    - port: 80
      nodePort: 30081
  selector:
    app: wordpress
The Deployment object’s YAML specifies your DTR image in the pod
template spec: image: <dtr-url>:<port>/admin/wordpress:latest. Also,
the YAML file defines a NodePort service that exposes the WordPress
application, so it’s accessible from outside the cluster.
Open the Docker Enterprise web UI, and in the left pane, click Kubernetes.
Click Create to open the Create Kubernetes Object page.
In the Namespace dropdown, select default.
In the Object YAML editor, paste the Deployment object’s YAML.
Click Create. When the Kubernetes objects are created, the Load Balancers page opens.
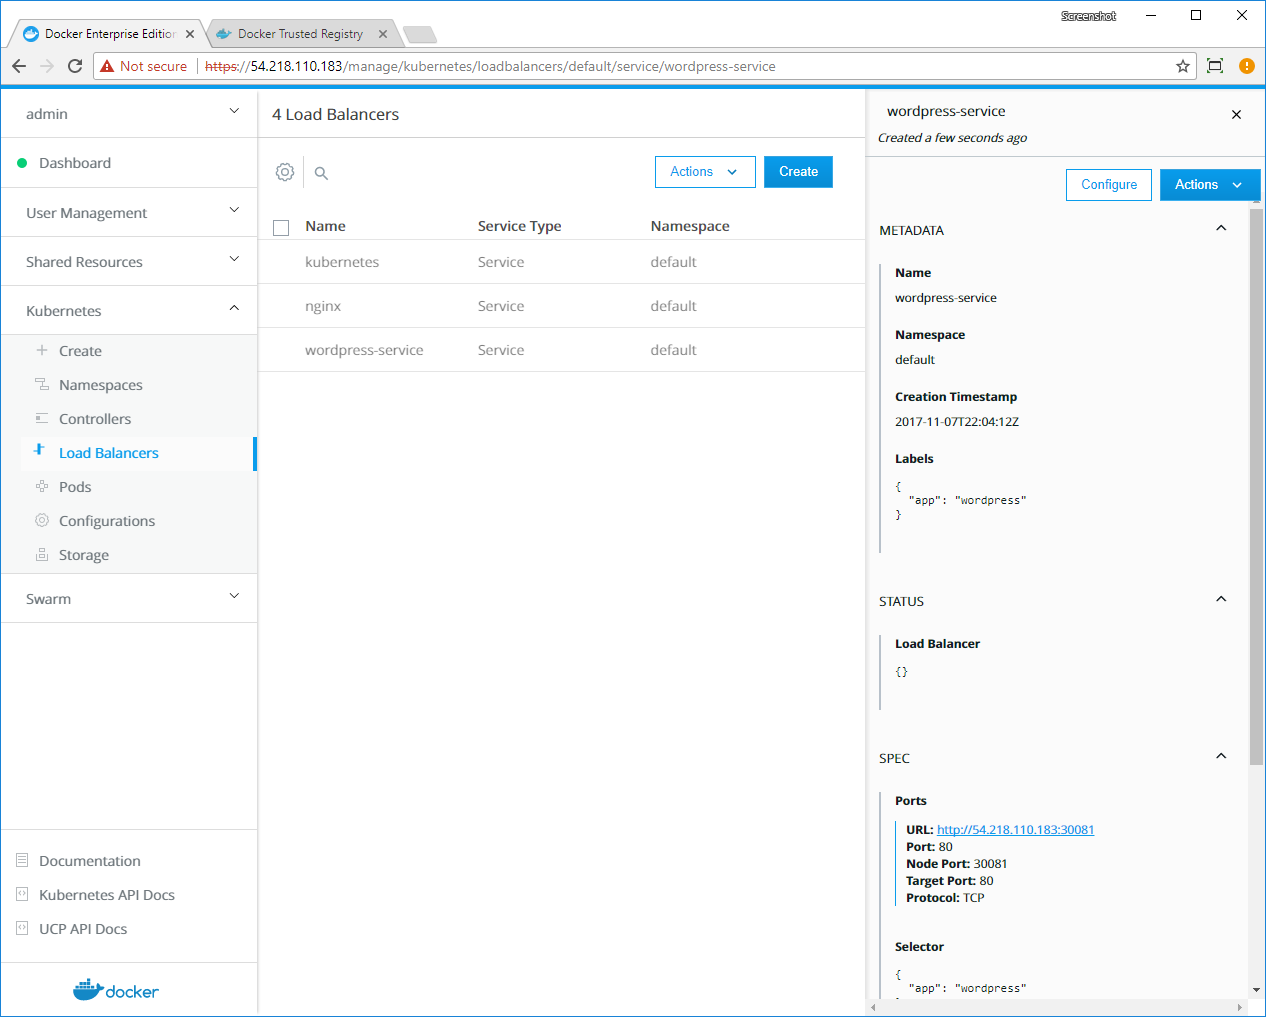
Click wordpress-service, and in the details pane, find the Ports section.
Click the URL to open the default WordPress home page.